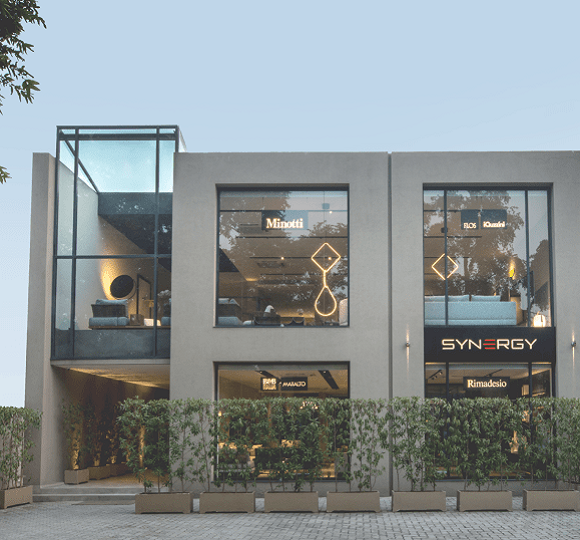
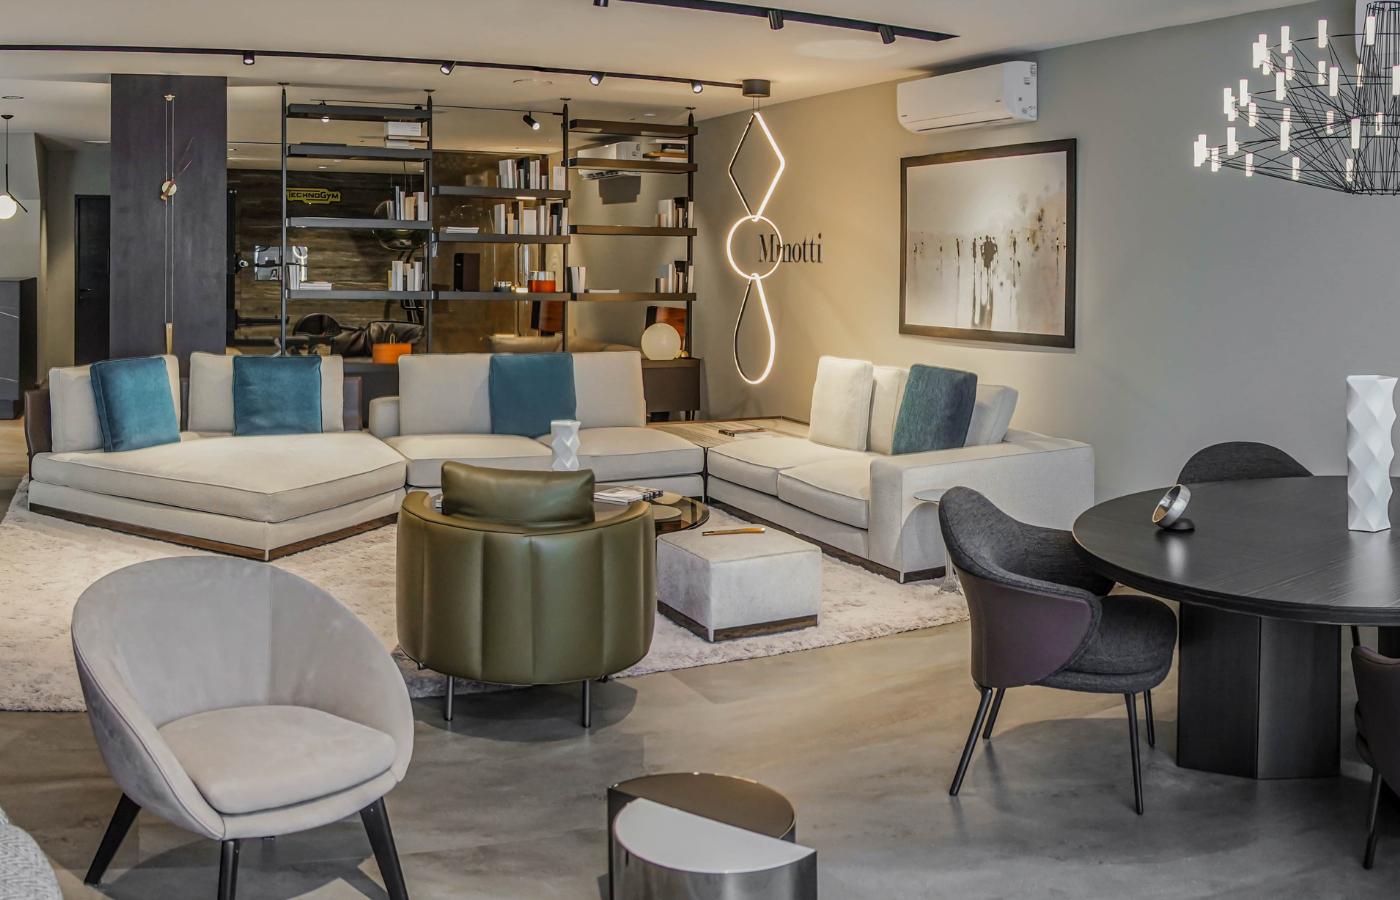
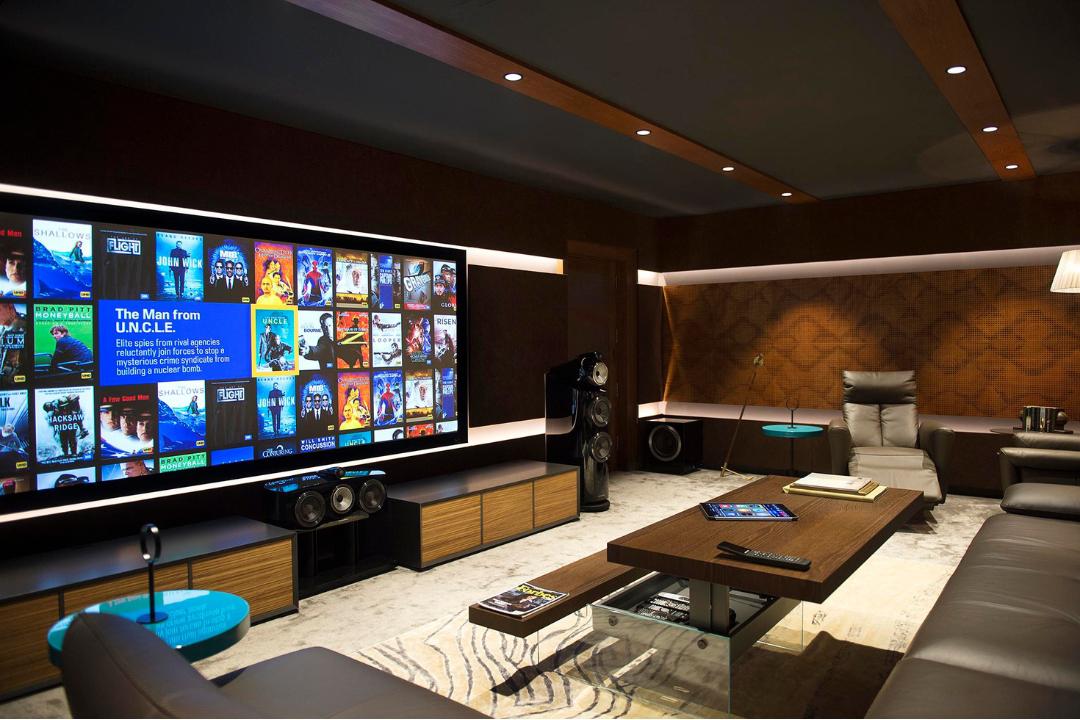
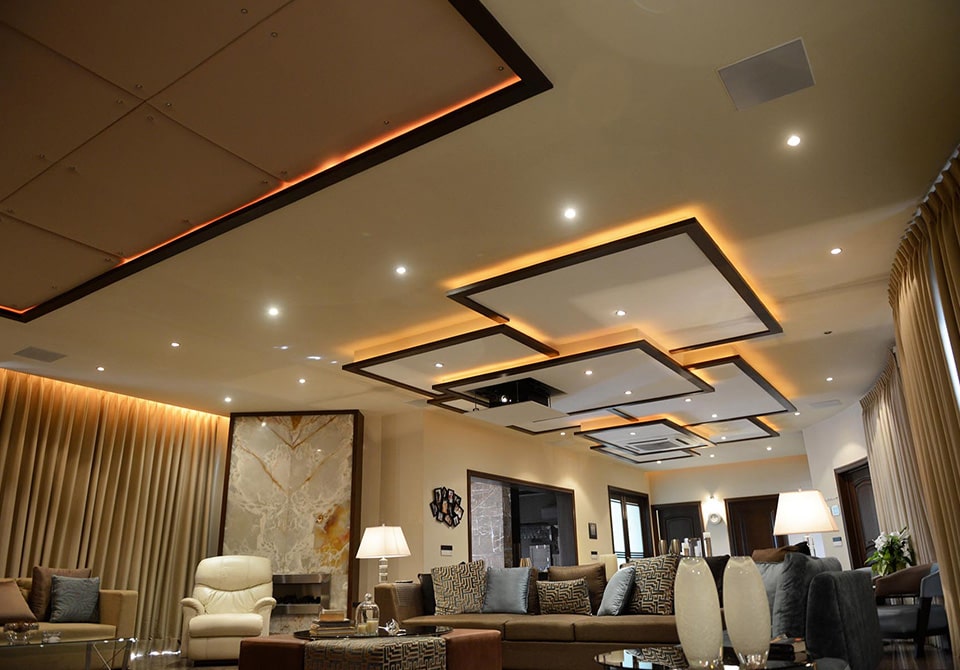
Synergy Technologies (Pvt.) Ltd. was a humble vision that has grown through sheer dedication and passion into Pakistan’s leading lifestyle and smart solutions curator for premier spaces.
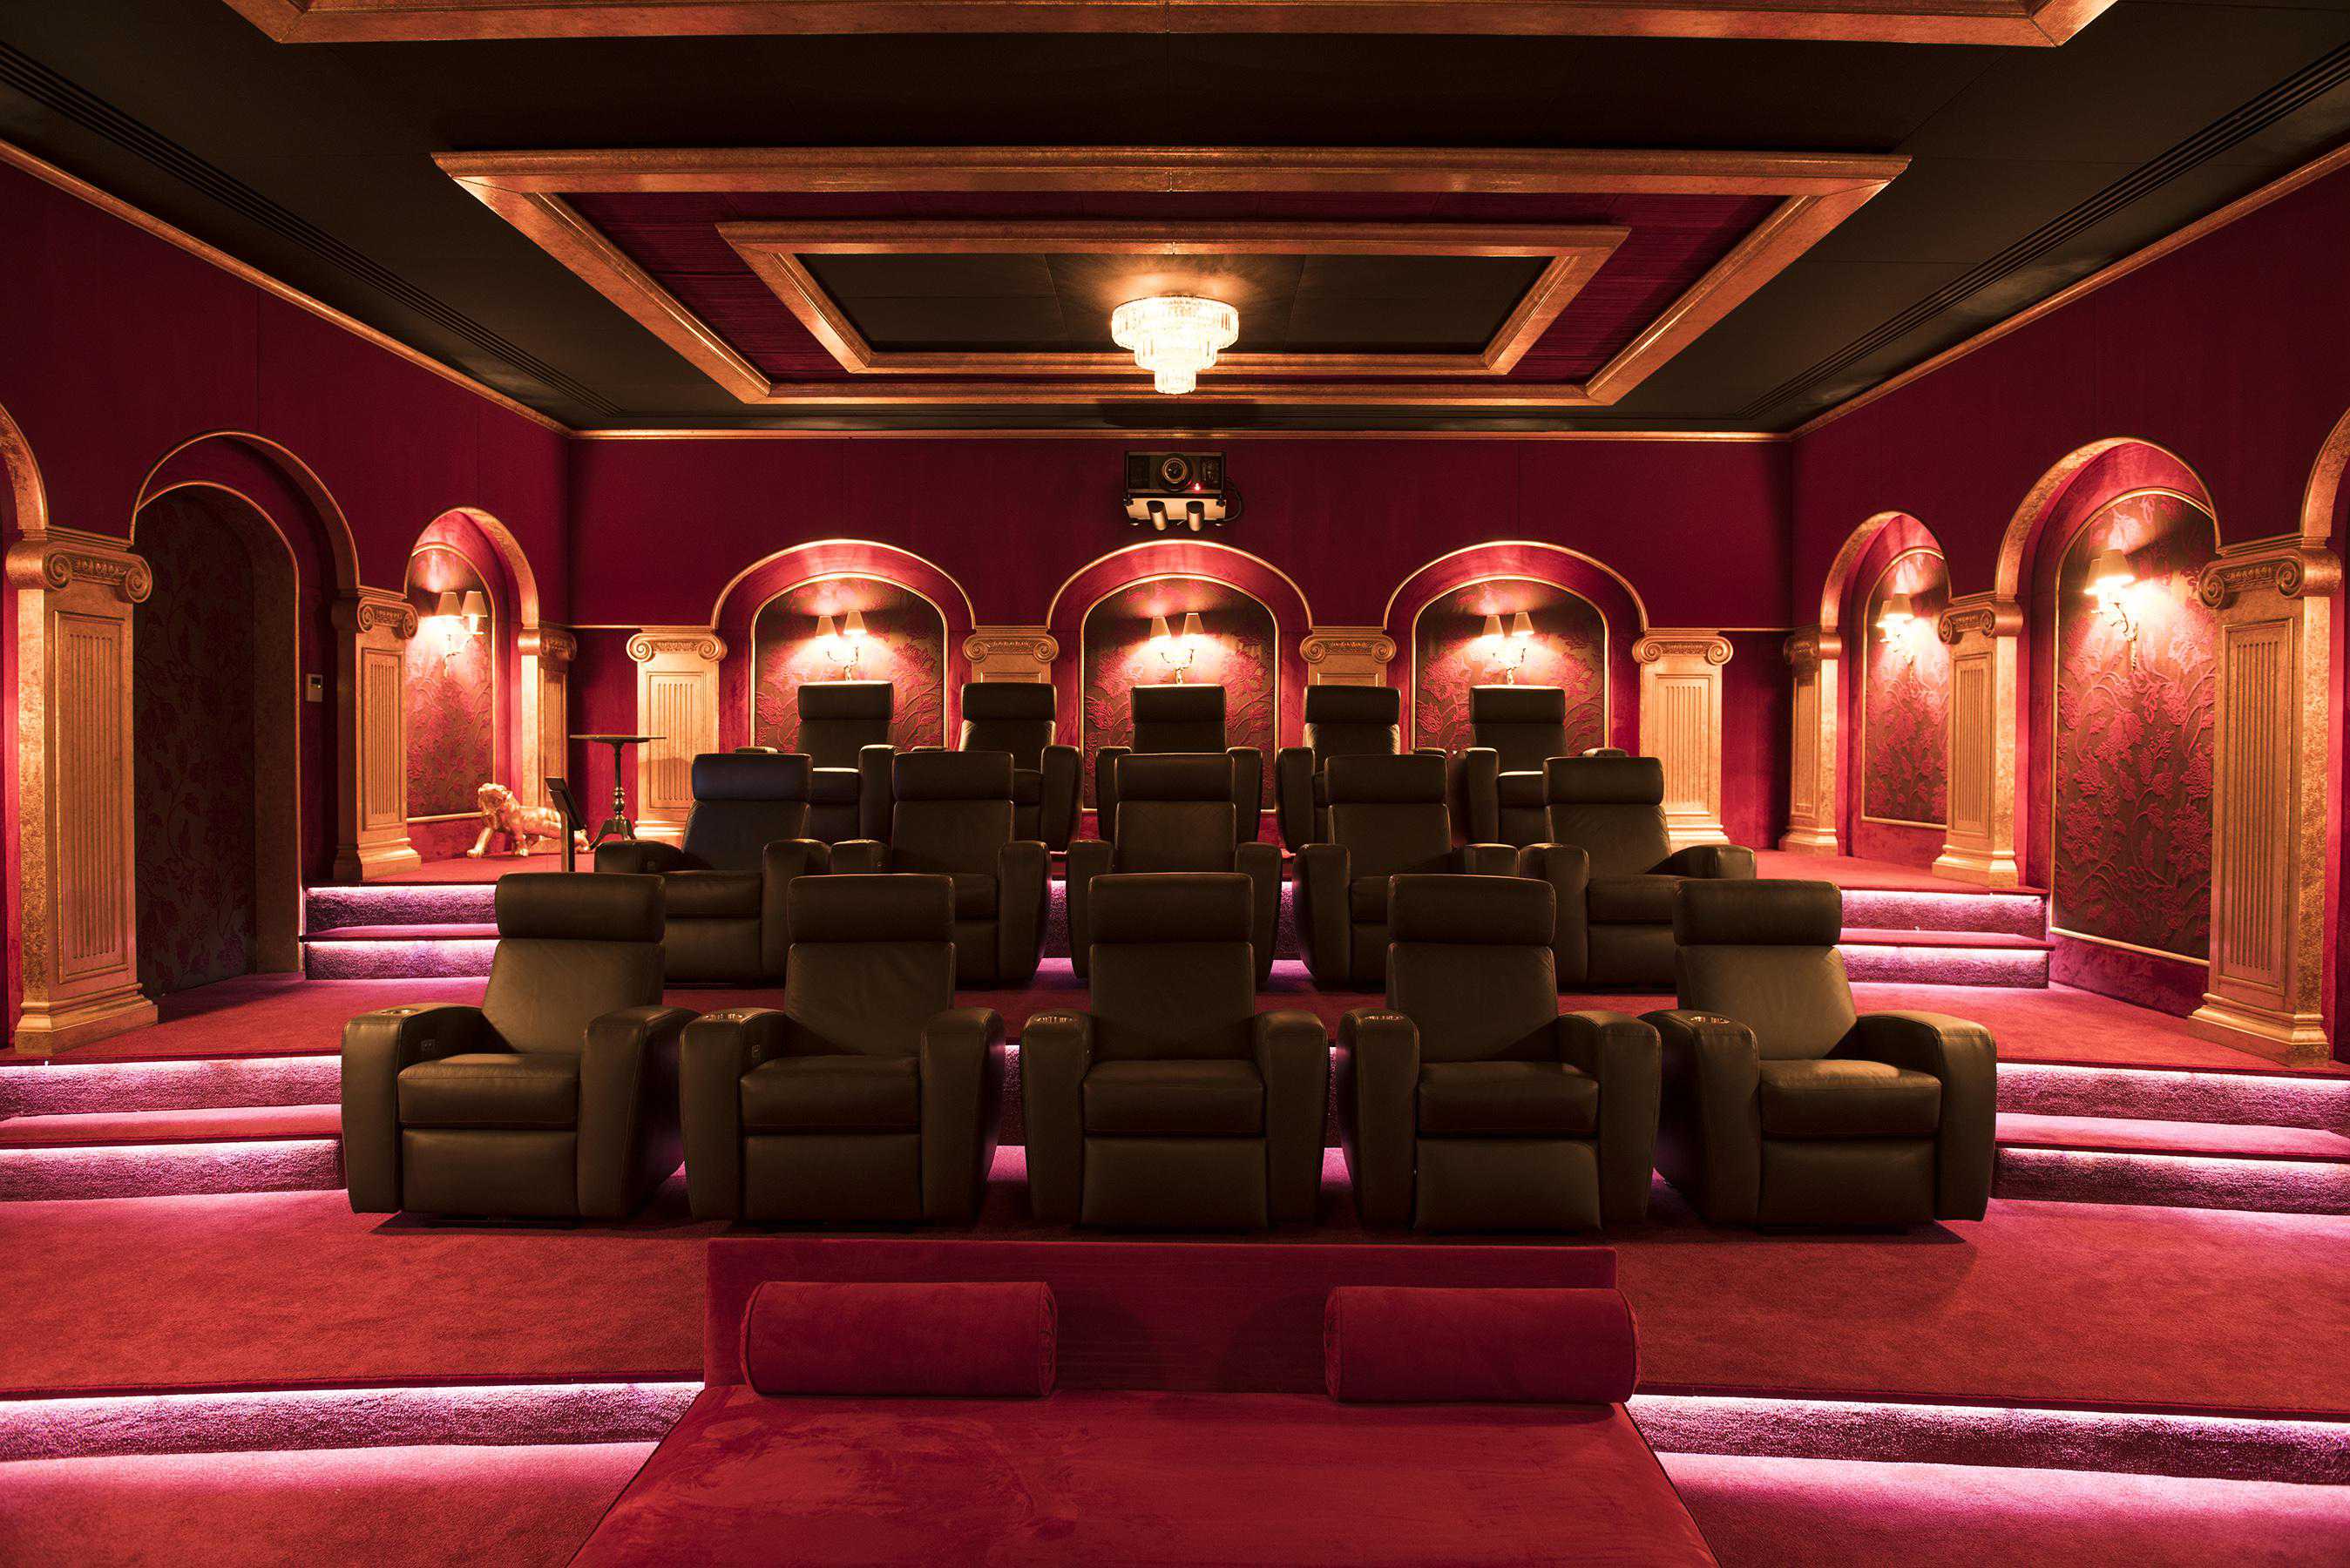
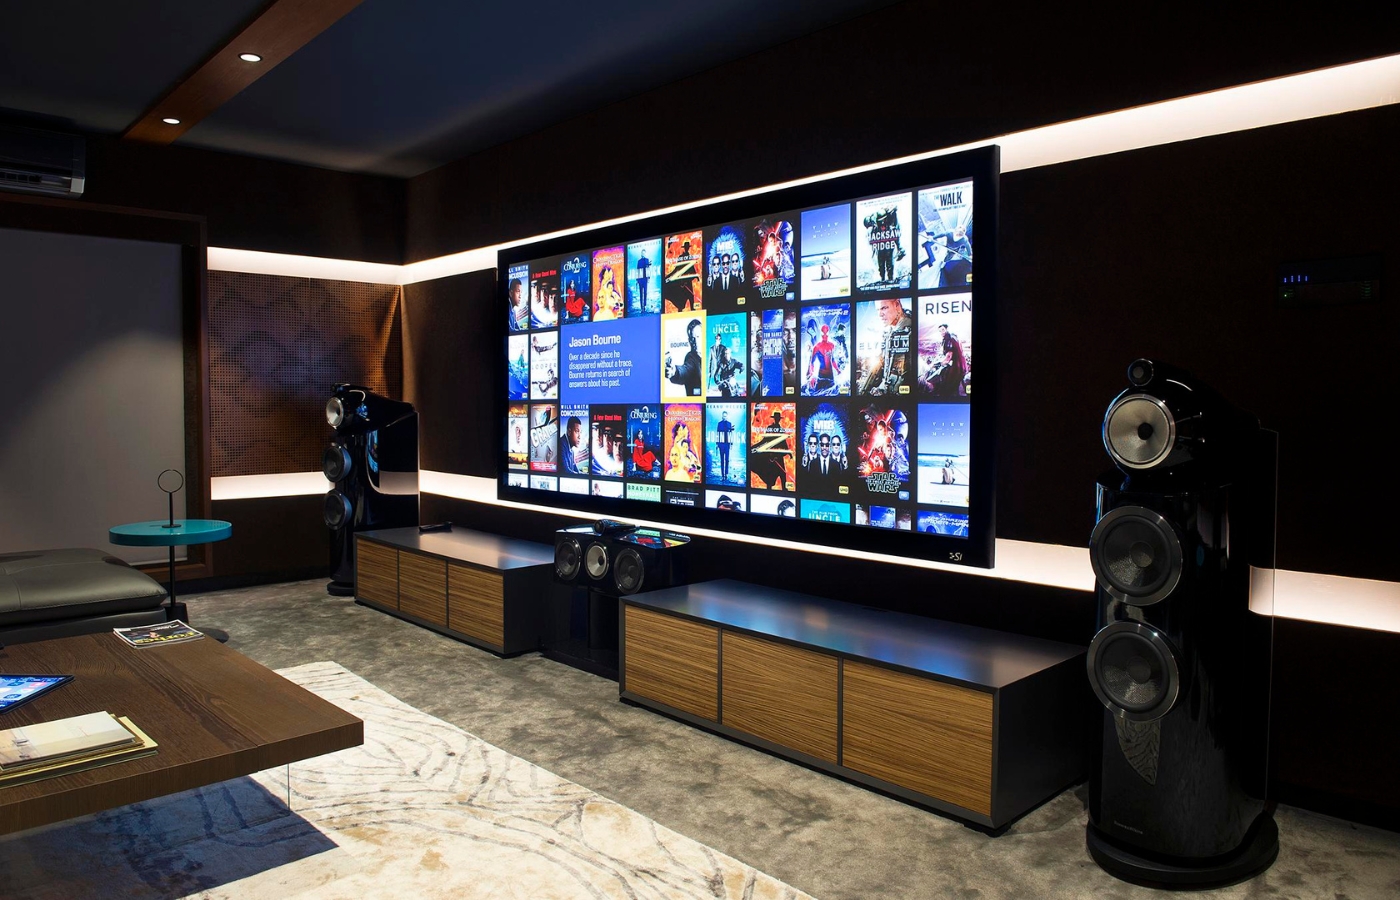
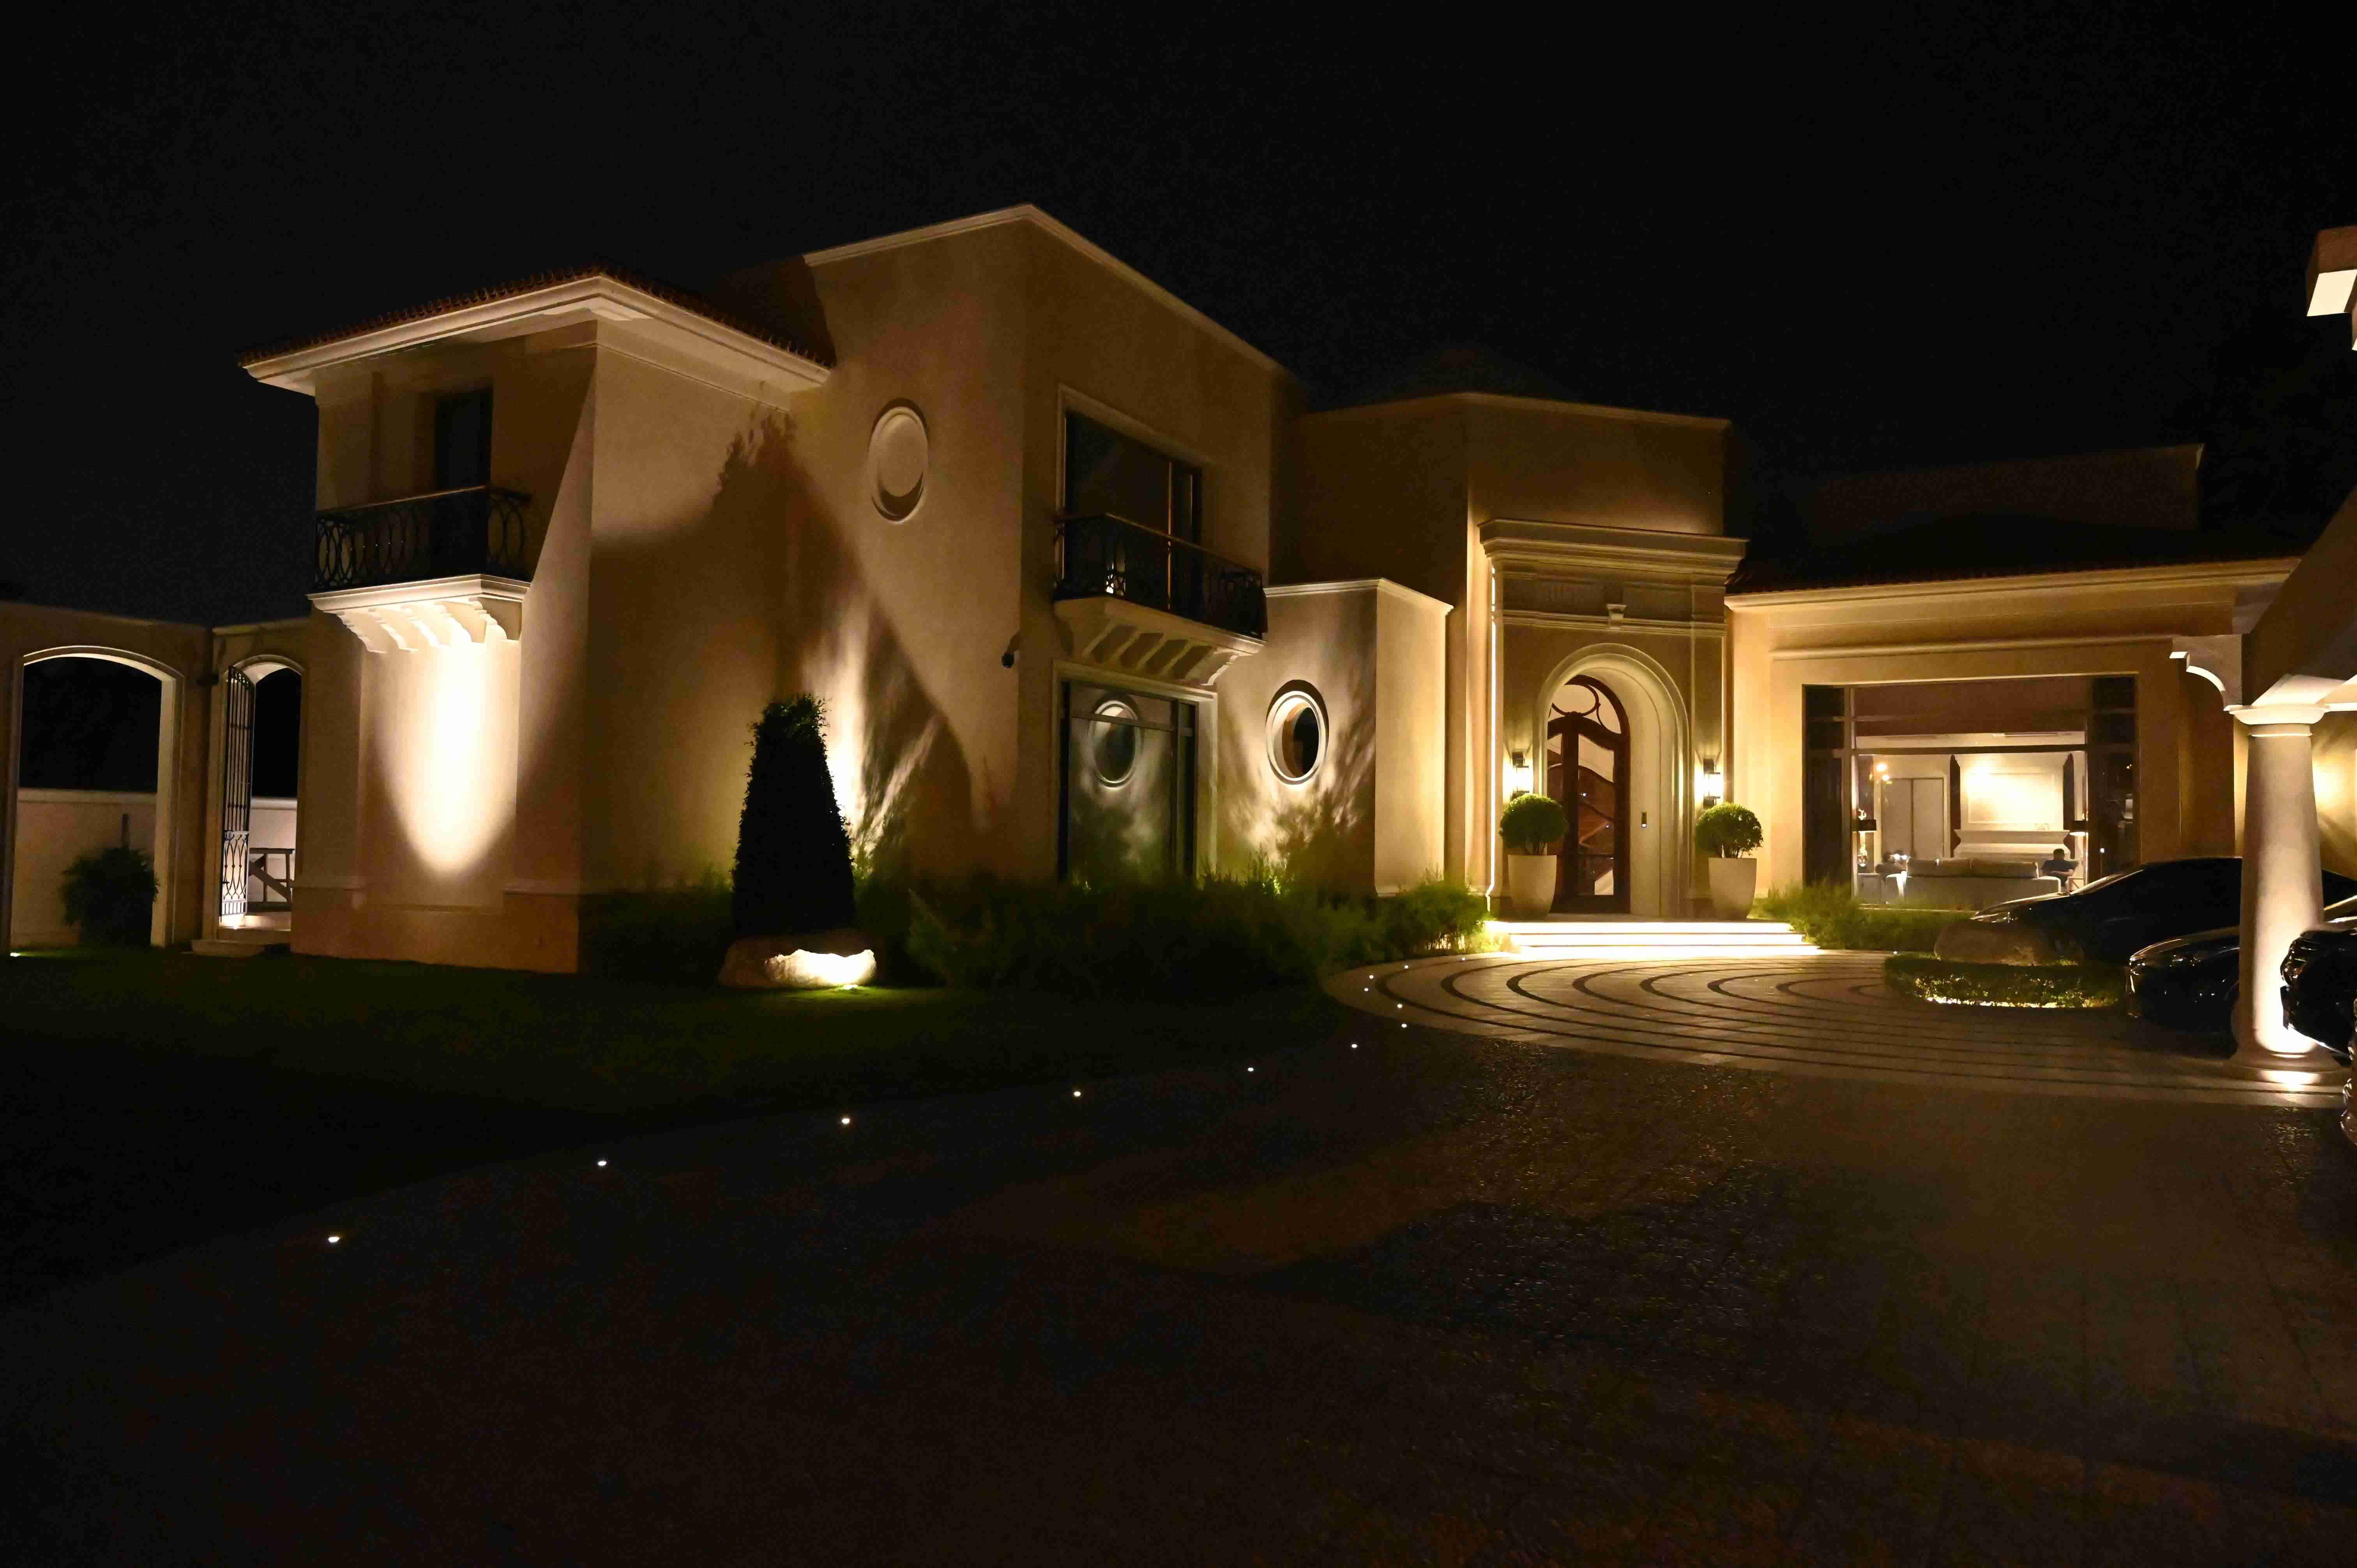
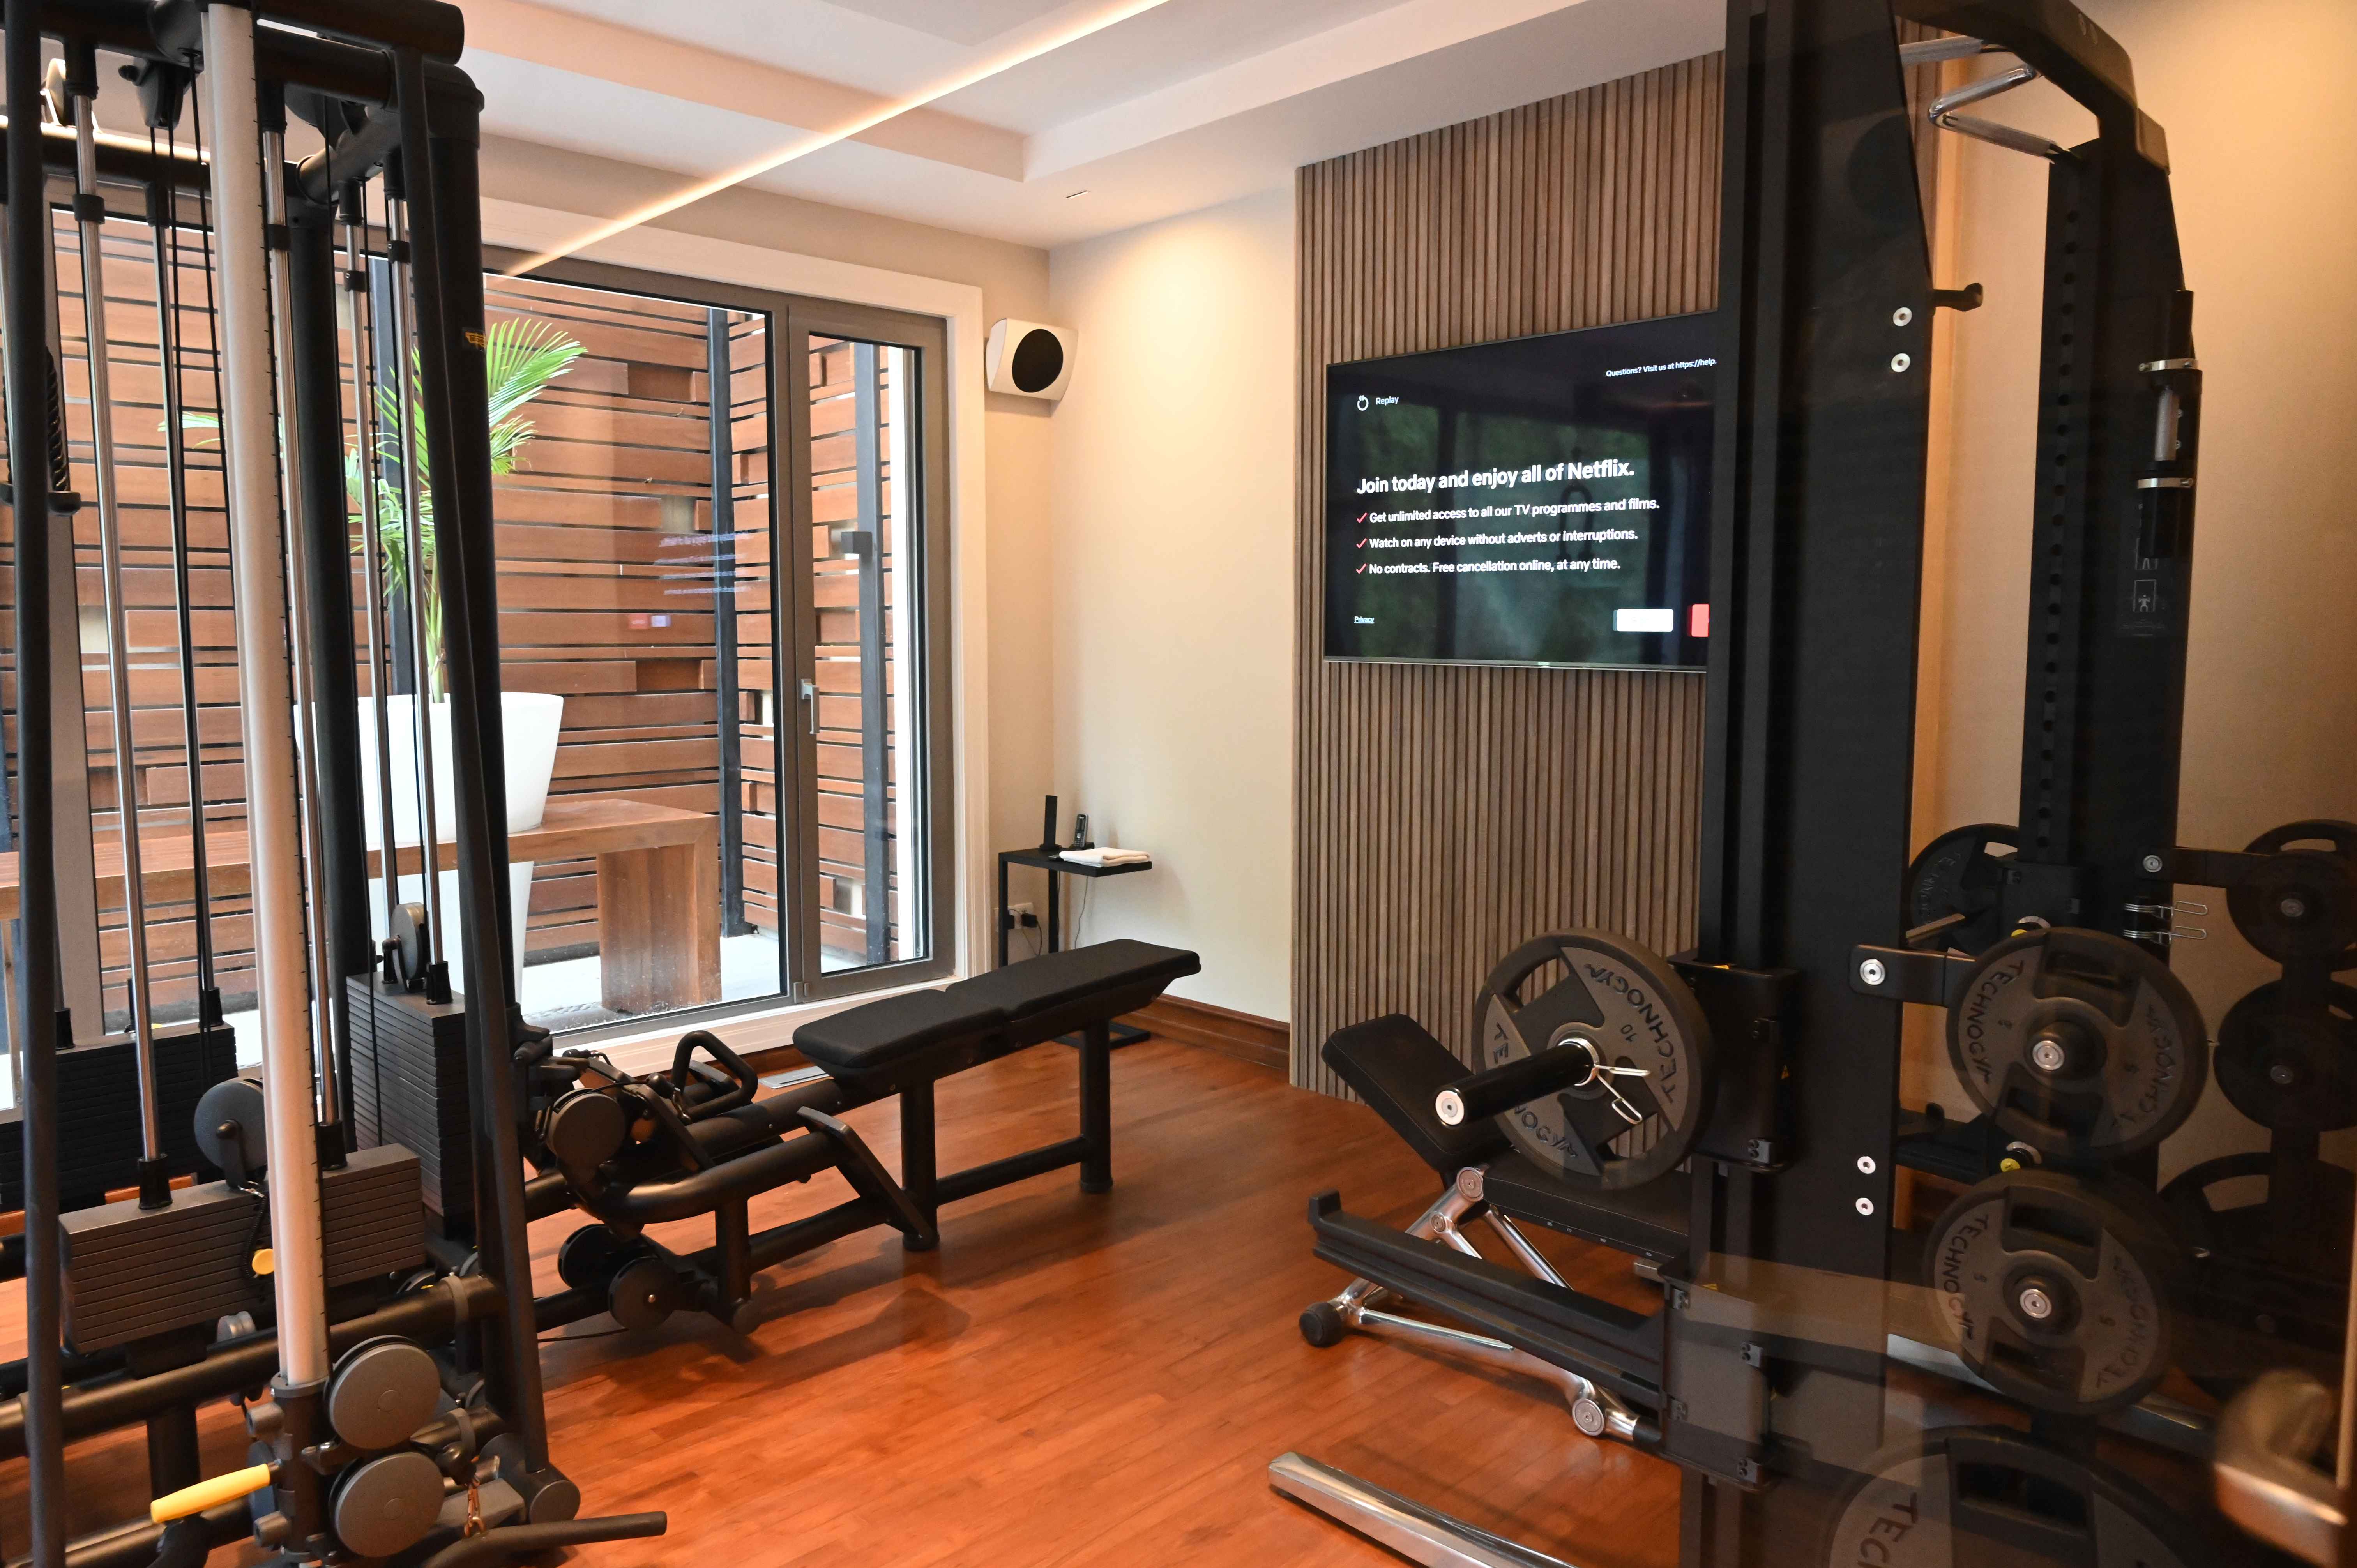
In a relentless pursuit of both luxury and performance over the last two decades, Synergy has partnered with some of the world’s leading brands in automation, audiovisual, interiors, lighting and wellness.
Our projects are a blend of simplicity and sophistication, comfort and functionality, aesthetics and sensational experience. We leverage solutions to help create the environment of your dreams.